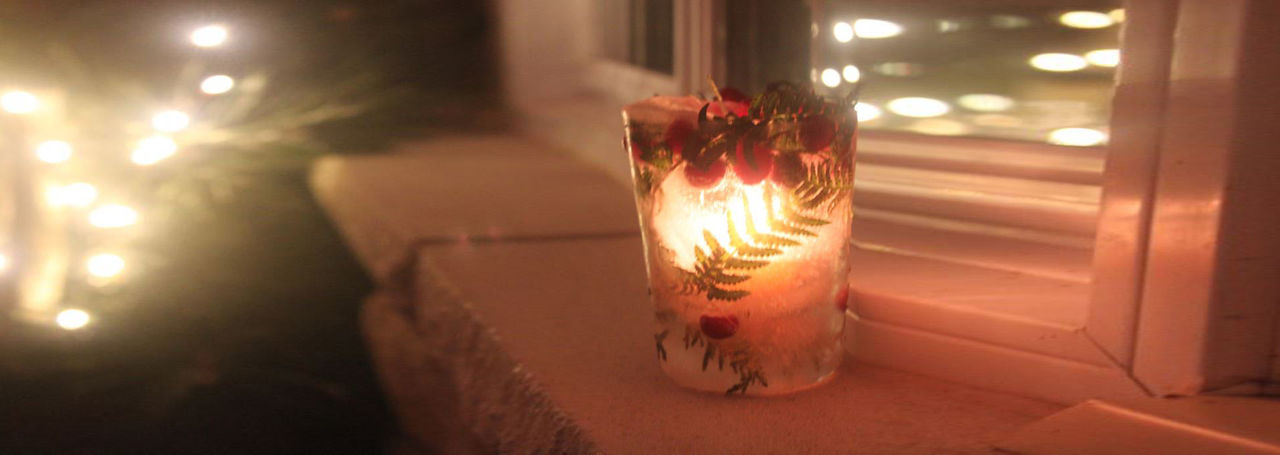
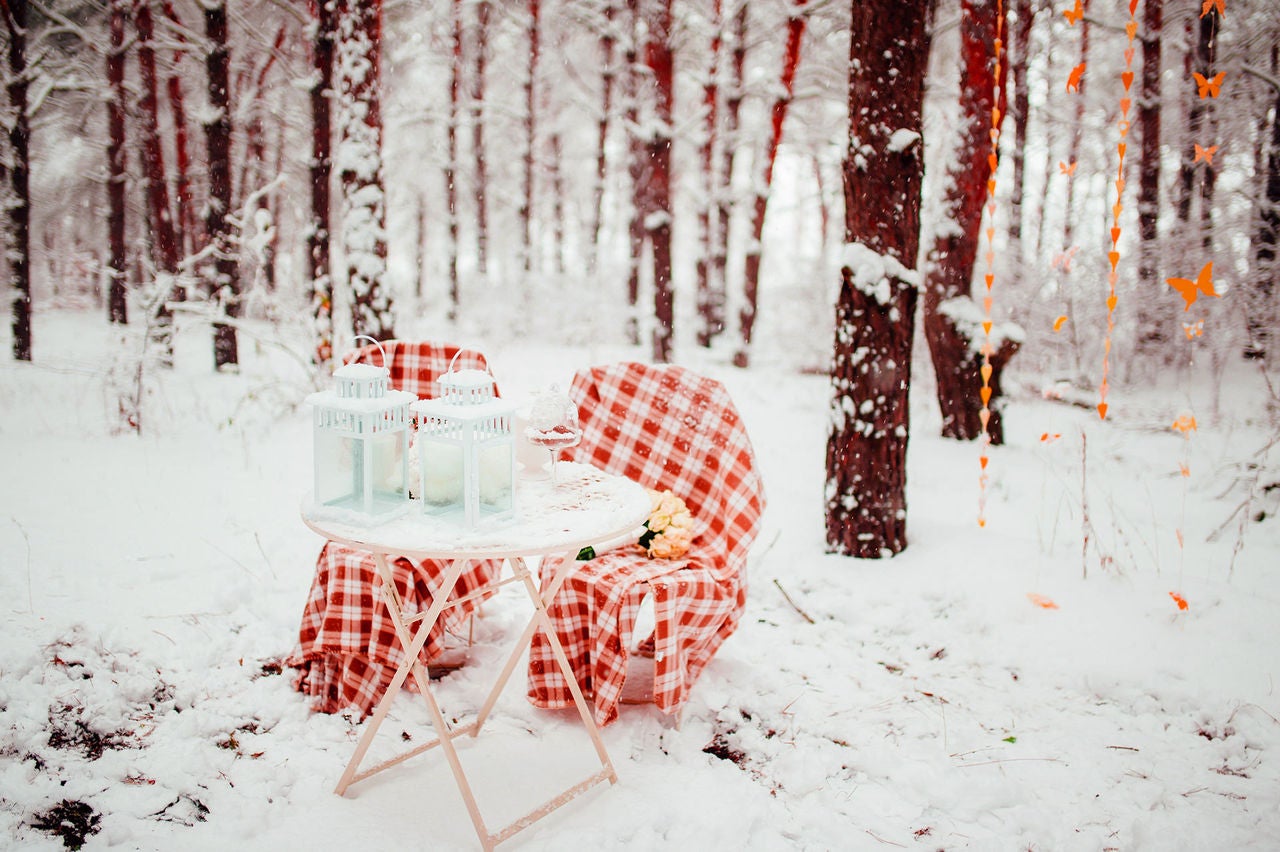
Winter may be cold but that gives us opportunities to enjoy things we can’t usually do other times of the year.
One fun activity is making ice decorations, like these ice lanterns! It’s fun to do with children but equally satisfying for us adults.
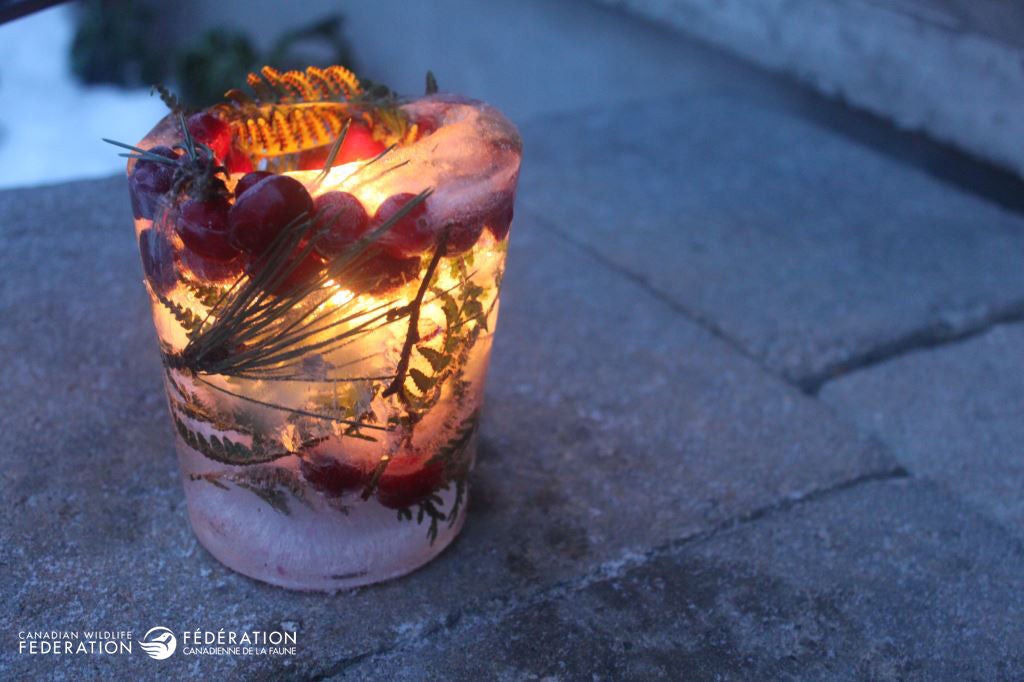
Making ice lanterns is neat way to decorate your front porch, even in daylight
Step 1 - Gathering the needed elements
A container that will form the shape of the lantern. Ensure that the upper part is not narrower than the lower part. If not, the ice lantern will not be able to slide out of the top of the container when ready to display it, so choose the container, or cut its top off, accordingly. You can use a large yogurt container for a small lantern or a large protein powder container, small bucket or even a metal tin (pizza places get them for large size crushed tomatoes). In these photos, you’ll see I used a small bucket for one lantern and a yogurt container for a smaller lantern.
A smaller container to go inside and create space to put a tea light. Like above, ensure the container is smooth and straight enough to let it slide out when ready. Ensure the container fits well inside your larger container with enough space in between for a thick enough wall of the ice lantern.
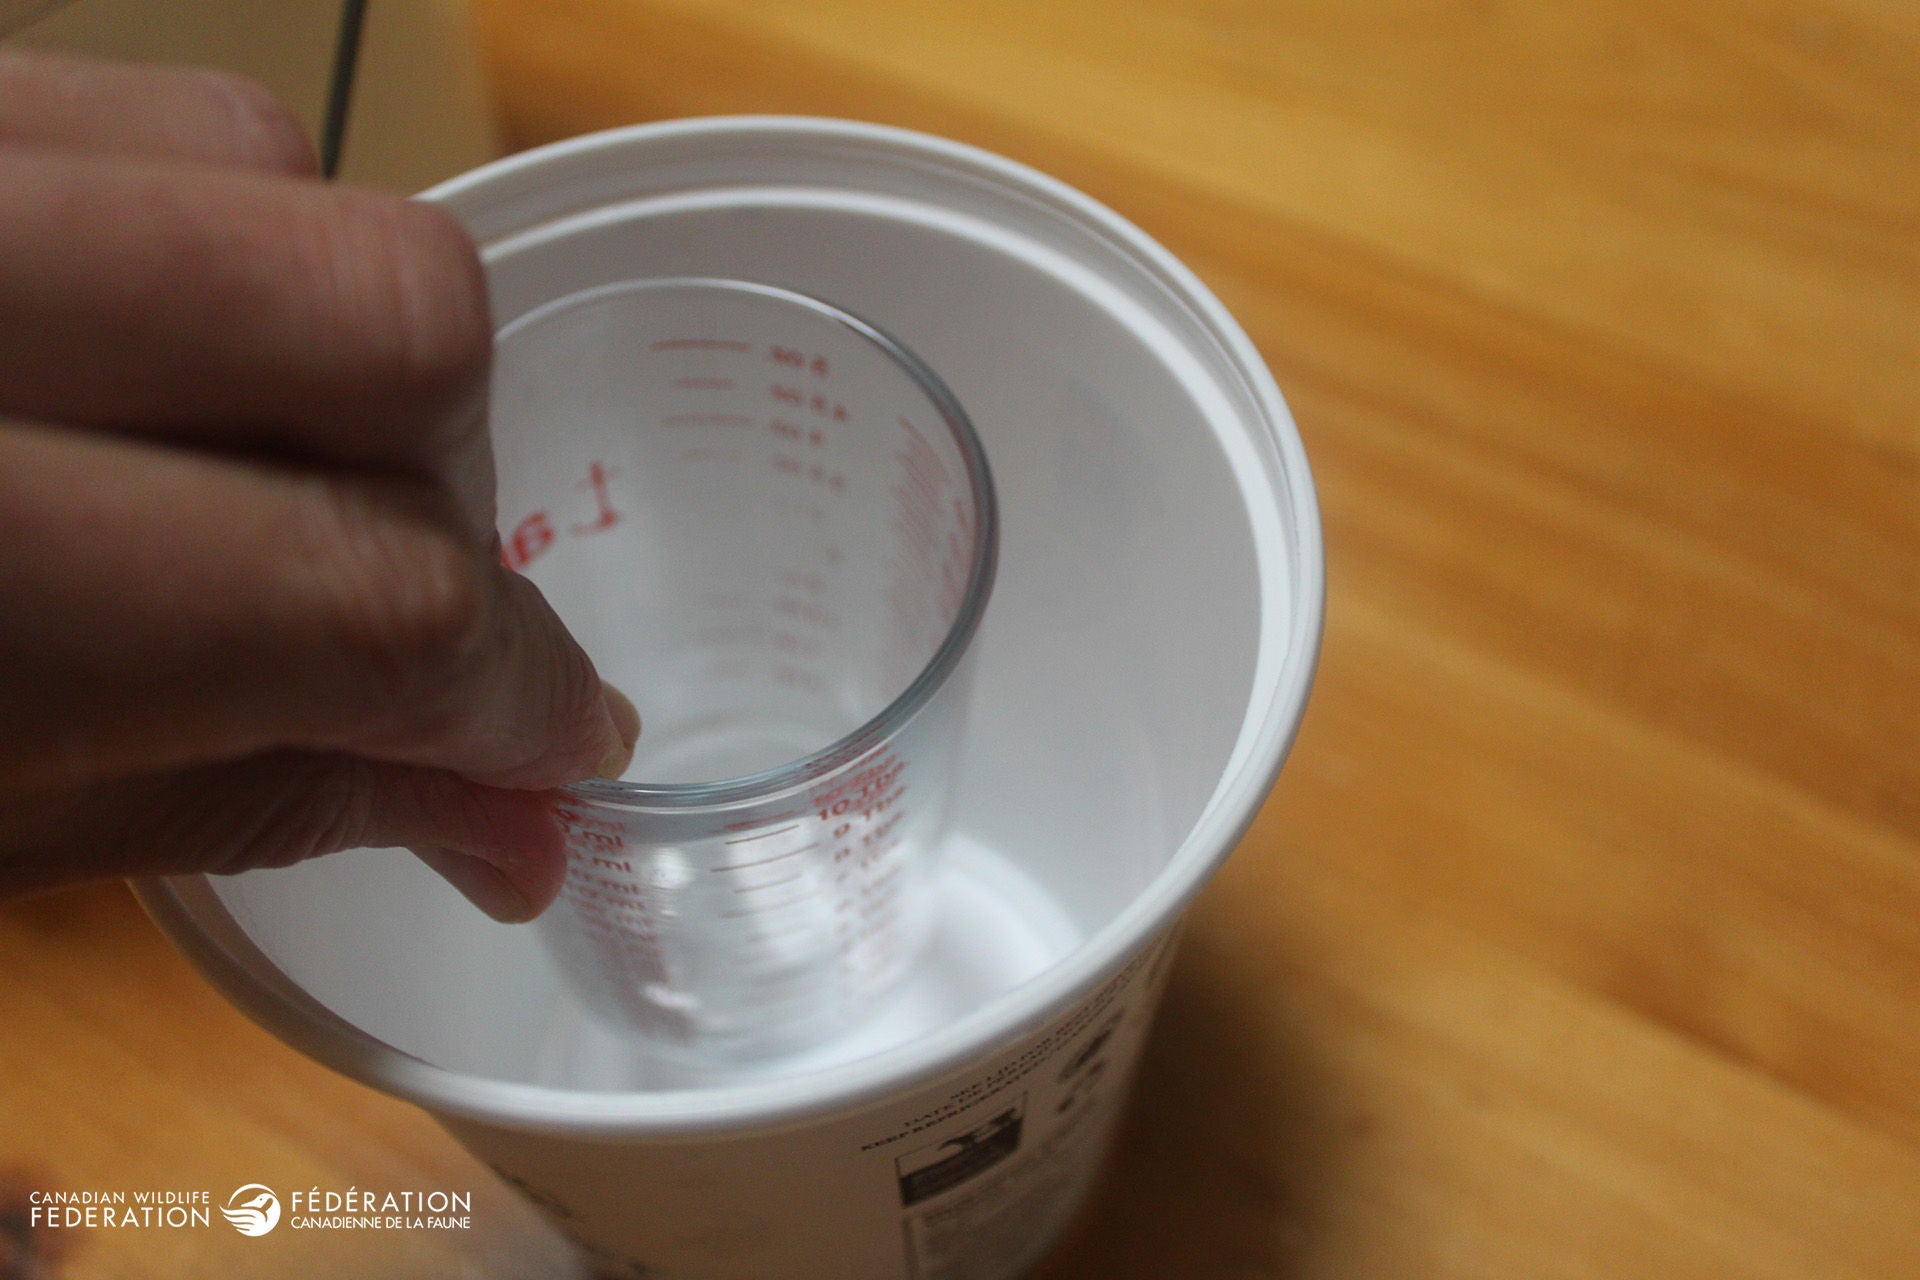
Check your inner container fits well
You’ll also need to check that it is tall enough – as tall or taller than your large container - keeping in mind that it won’t sit directly on the bottom of your large container but a little higher. This allows space for ice to form the base of your lantern. Also make sure it is large enough to place a tea light in that spot once it’s removed. The width is also very important for if your large container is very large and you use a narrow inner container, that could mean a very deep drop for a tea light and no space for your hand to reach in and light it safely.
I recommend the smaller lanterns as they freeze much more quickly and if you get a thaw you can pop them back into their container, put the lid on and stick in the freezer until the temperature drops outside again.
Finally, you’ll need to choose something that can withstand both freezing and then room temperature or warm water which will help free it from the ice. Plastic or metal is usually your best bet for this, although I used a strong glass measuring cup for the small lantern that had a yogurt container for its larger container. I reused the yogurt container as the inside for the larger bucket lantern.
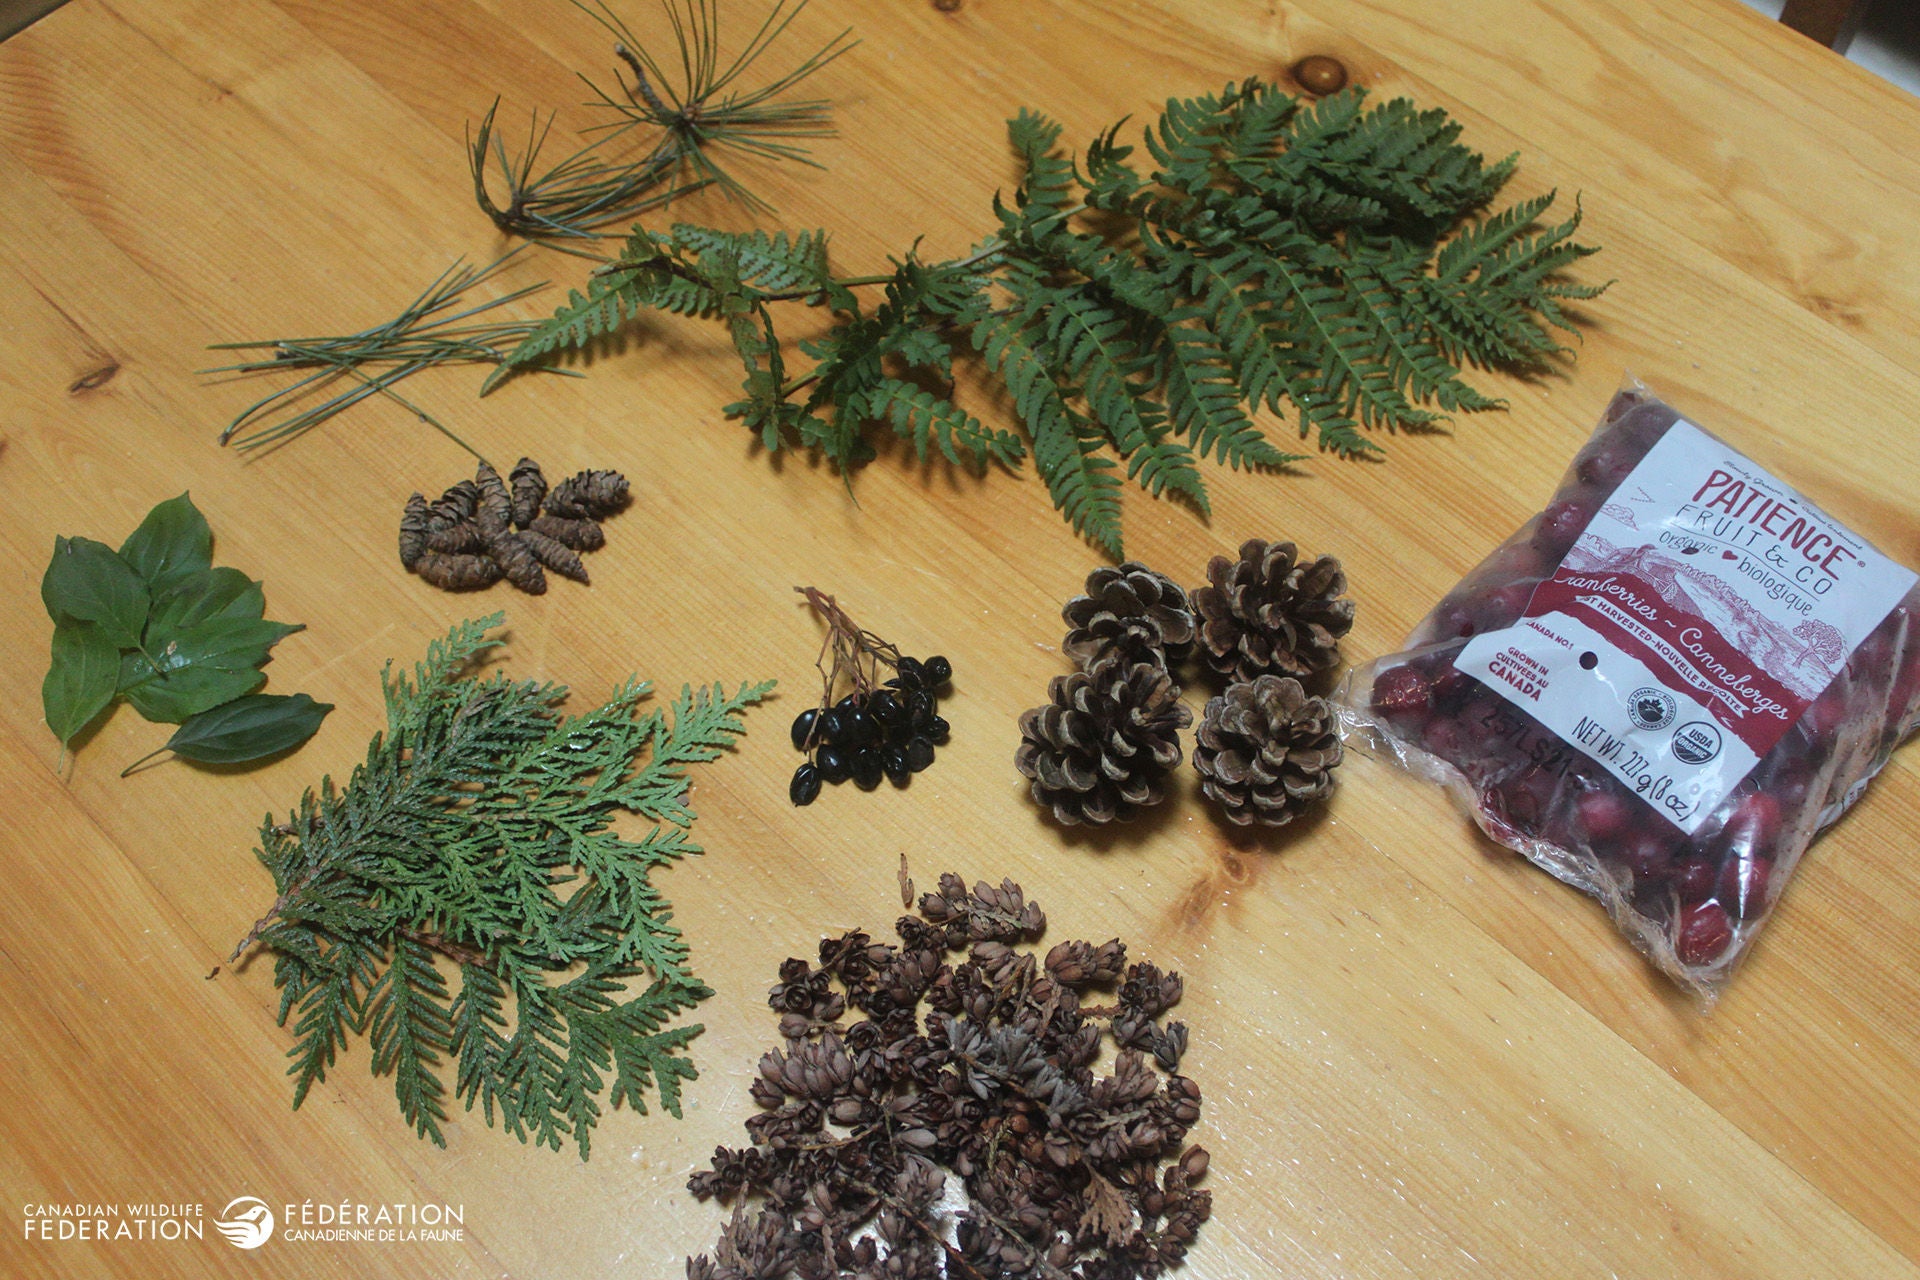
Natural elements can include fern fronds, berries,
small cones and evergreen leaves
Natural items like fresh or frozen cranberries and evergreens. Fresh or frozen cranberries from the store are attractive as are other berries that you might have growing on bushes in your garden. (You won’t need many, so the birds will end up getting most of them). You could also slice an orange or clementine and use that for added colour.
For greens, I snipped some fern fronds from my garden that were green but bent over and withering in the snow. They would be brown by the spring but I still only take the little that is needed. I sometimes snip a bit from my evergreens in the garden but as I don’t have many to begin with and they need all the help they can get surviving the winter, I also go on the local trail next to the community park and look on the ground to see what the squirrels have snipped. You might be surprised to find the ends of spruce or cedar branches as well as small cones ready to collect. This year I spotted a house that had a few tidy bundles of Red Pine with the sign ‘free boughs’ on their front lawn. The owner had trimmed an overhanging branch and kindly shared with the community. I used them in my front planter as well as in these lanterns. Another option is to get a bundle of greens at a grocery or other local store, typically sold at this time of year.
Stones to weigh down the inner container. You’ll need this once you add water, to stop your inner container from floating around and making an uneven freeze. Alternatively, use masking tape to tape along the top if the inner container, joining it with the top of the outer container. This also helps ensure your inner container is high enough.
Water, to fill and form the lantern!
Step 2 – putting it all together
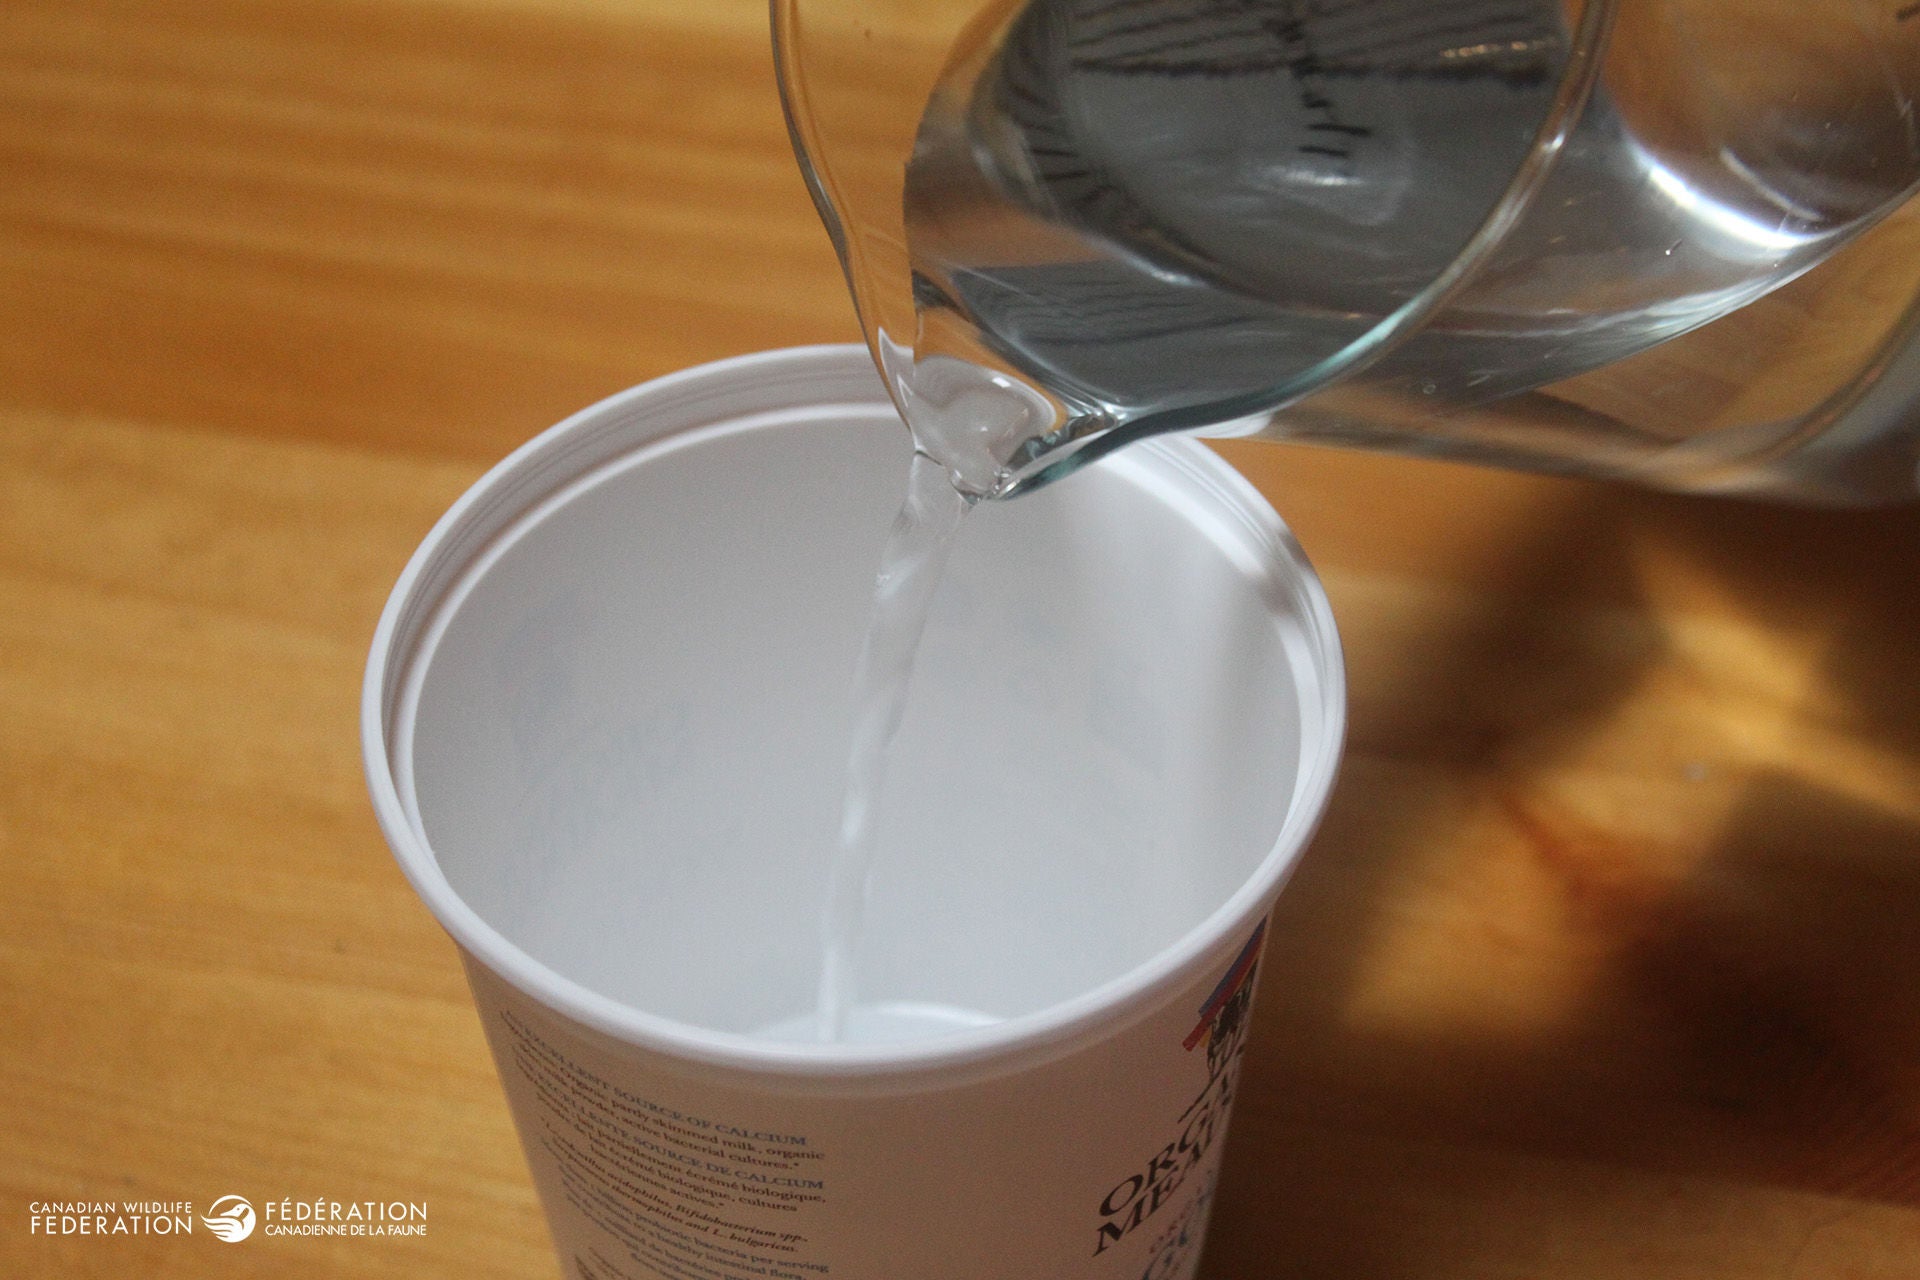
Pour a little water into your outer container
Fill the bottom of your container with a little water. This will be your base and only needs to be thick enough for stability, perhaps one centimeter for small lanterns or up to three centimeters in larger ones.
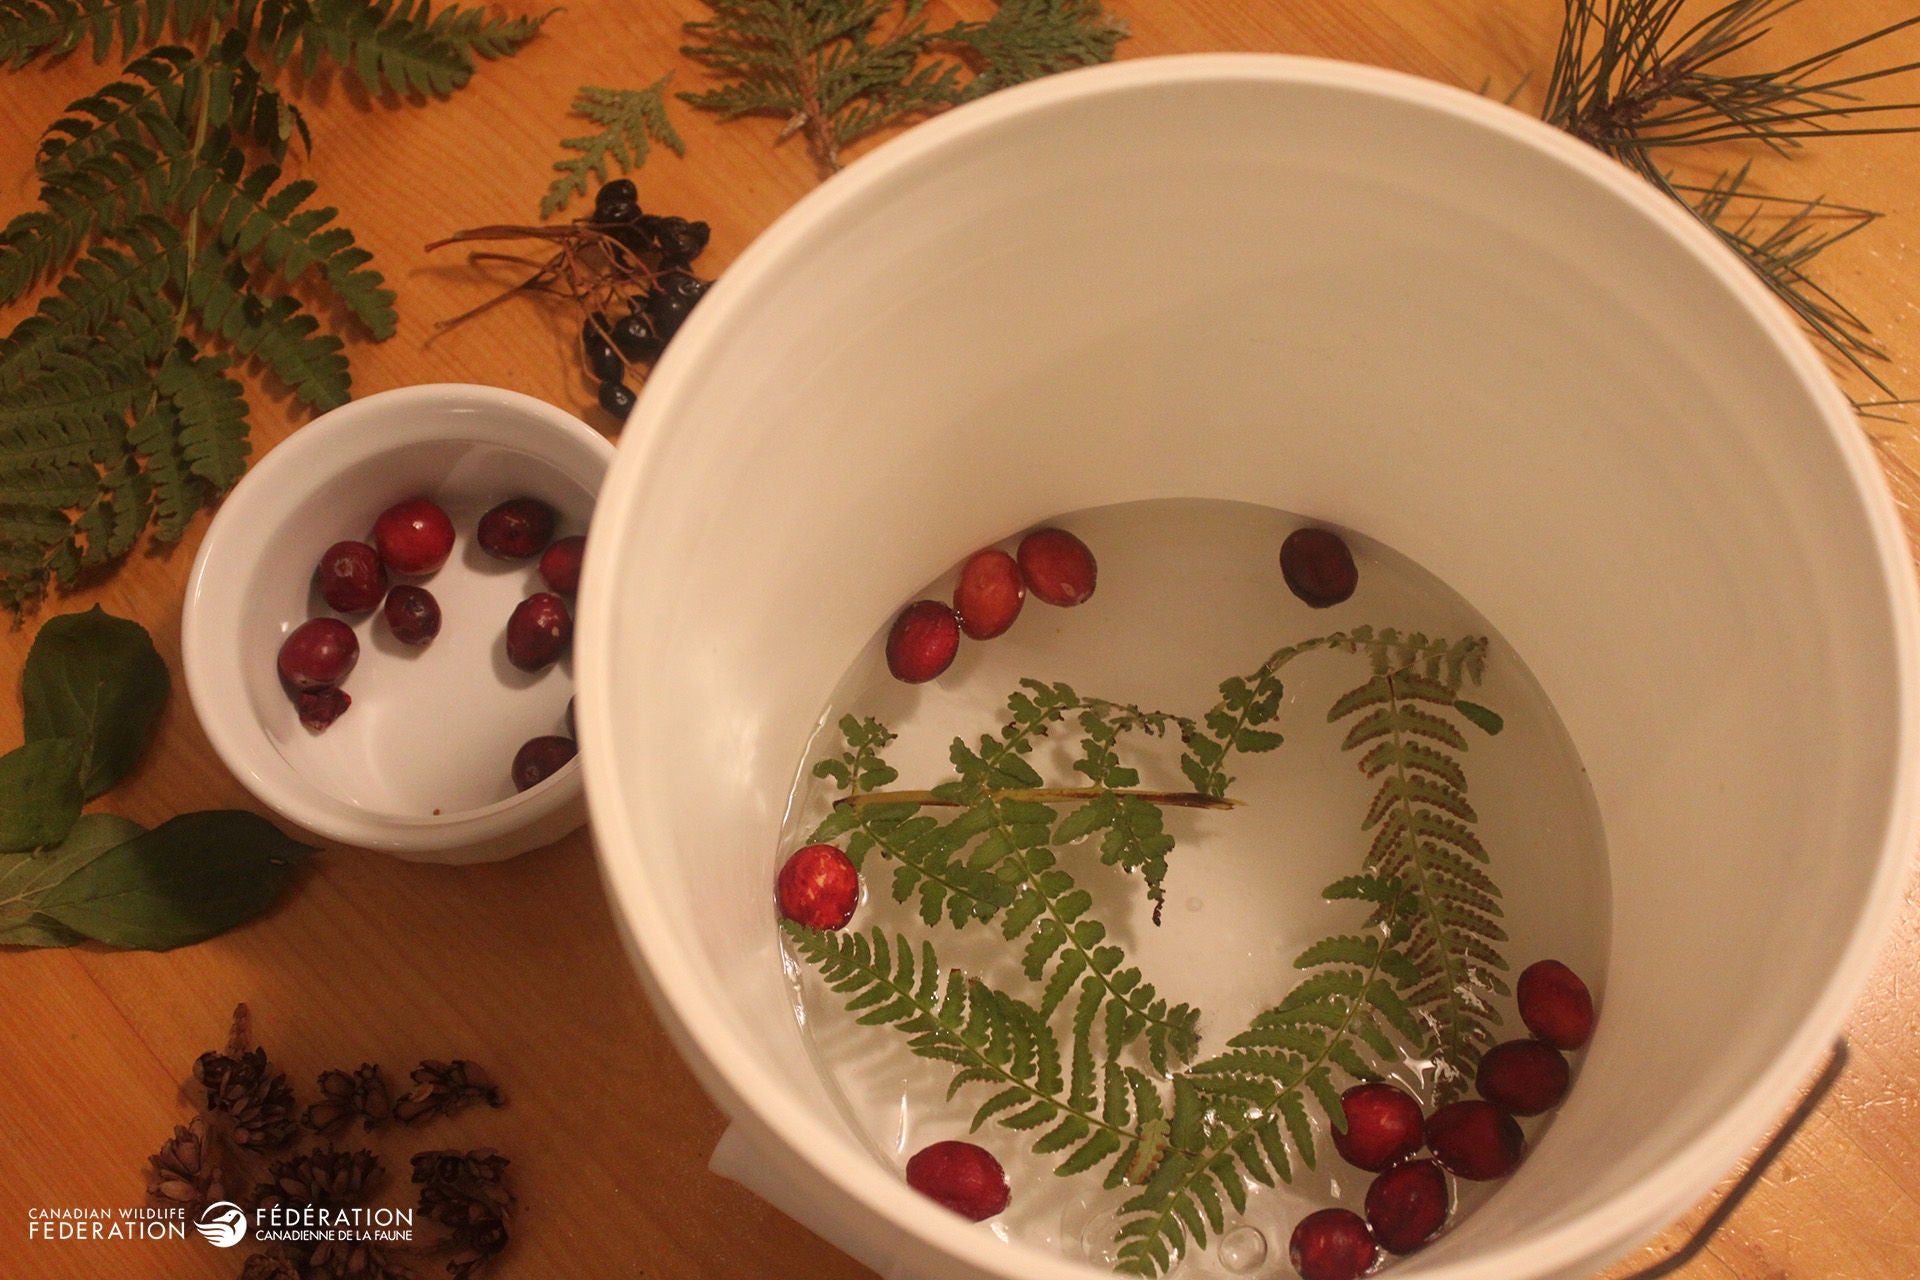
Add berries and/or greenery (optional)
Perhaps place some berries and greenery in the water. I say ‘perhaps’ as it depends upon the look you are going for. If you’d like your elements to be all around the lantern then I suggest you fill in the base with a little bit now. If, however, you go for the look where it is all clear except at the top, then leave the base clear. You may find the second option easier as many items, like cranberries and leaves will float to the top. If you want them dispersed more evenly, you’ll have to play with them to see what items you have can push them down somewhat.
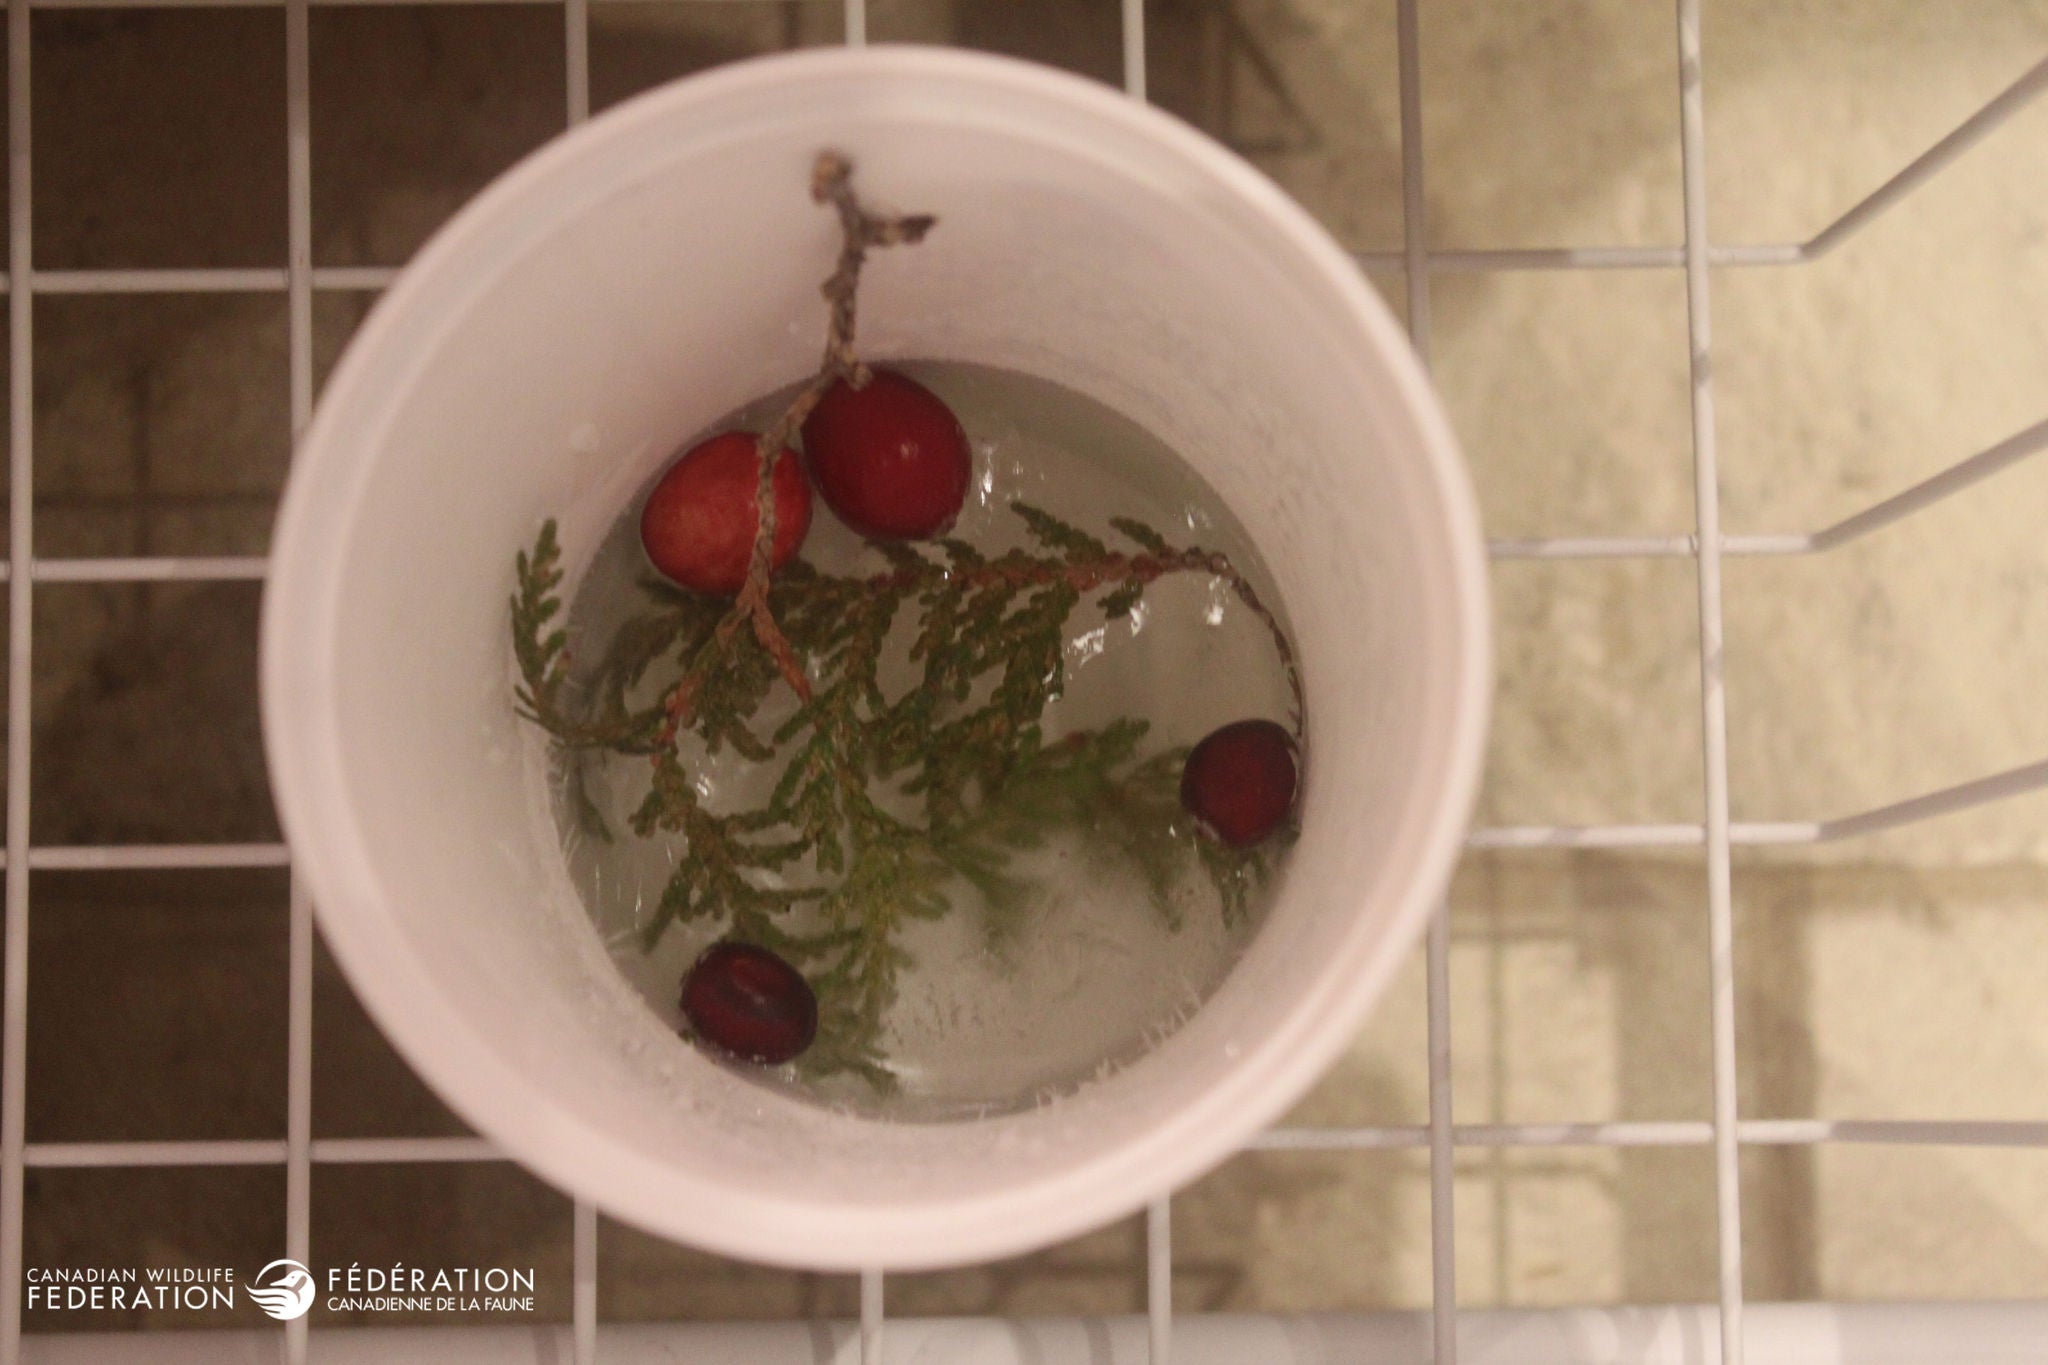
Freeze the base of your lantern
Take it outside to freeze or put it in your freezer. I used the freezer for my little one and outside for the bigger one. Before you leave it, however, check to see that your berries or leaves are now in a spot that will allow the centre to be flat. If you have something in the center that is floating, it may stick out of the ice enough to cause your tea light to be slanted.
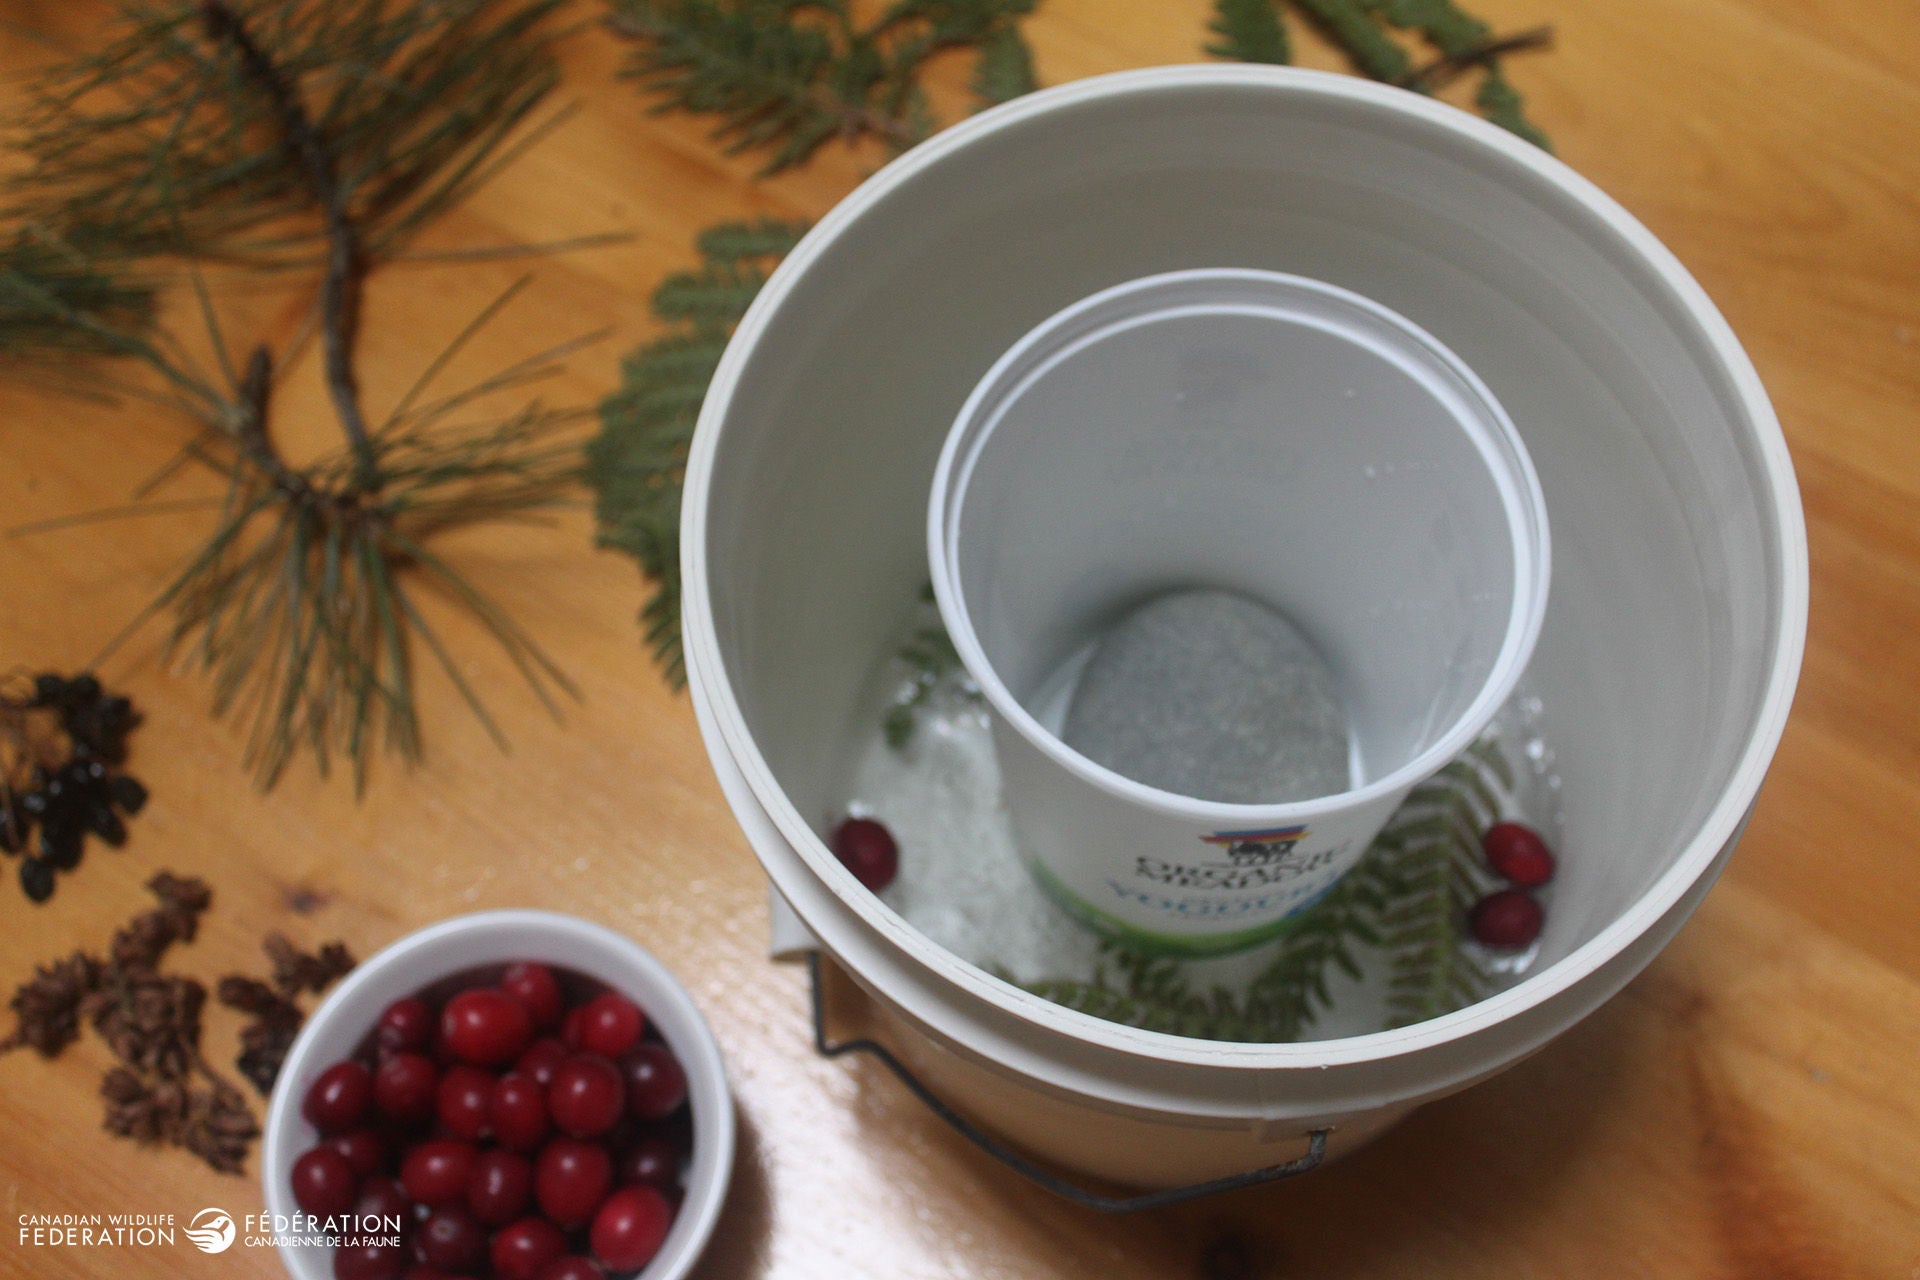
Place your inner container and secure with stones
Once your base is fully frozen, place your inner container in the middle and fill with some stones to keep it in place. If you try and cut corners (like I did!) and don’t let the base completely freeze, your heavy inner container might break the weak ice below and you’ll have to start again.
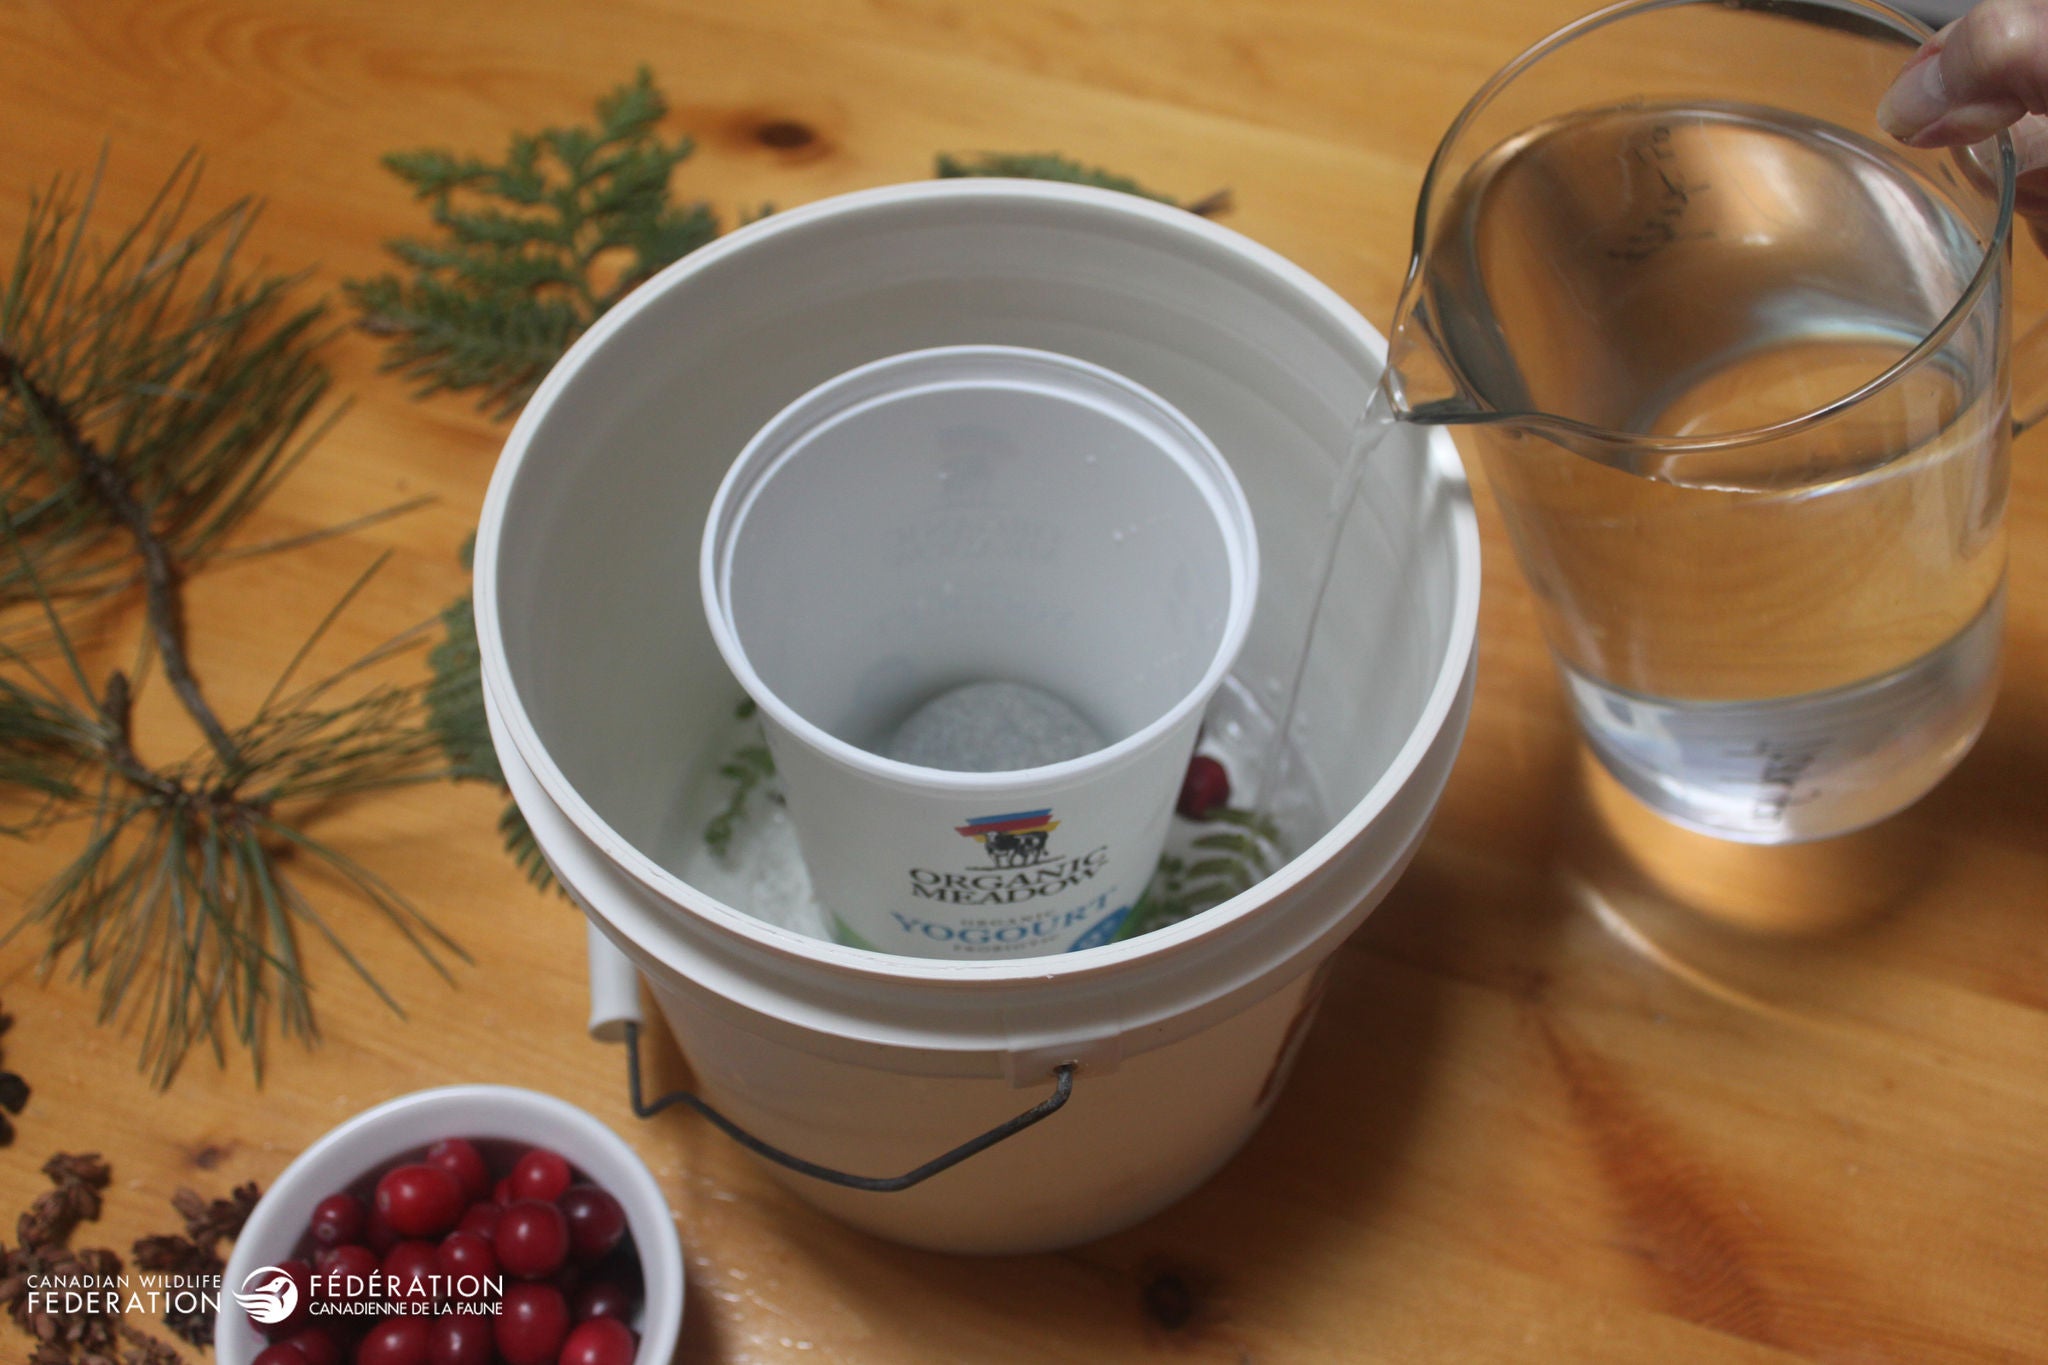
Pour water in between the two containers
Fill the gap between the two containers with water. This will be your lantern’s wall. Don’t fill it right to the top as you will be also adding your berries and greens. This also allows space for the water to expand as it freezes. You may need to add more stones if your inner container begins to move.
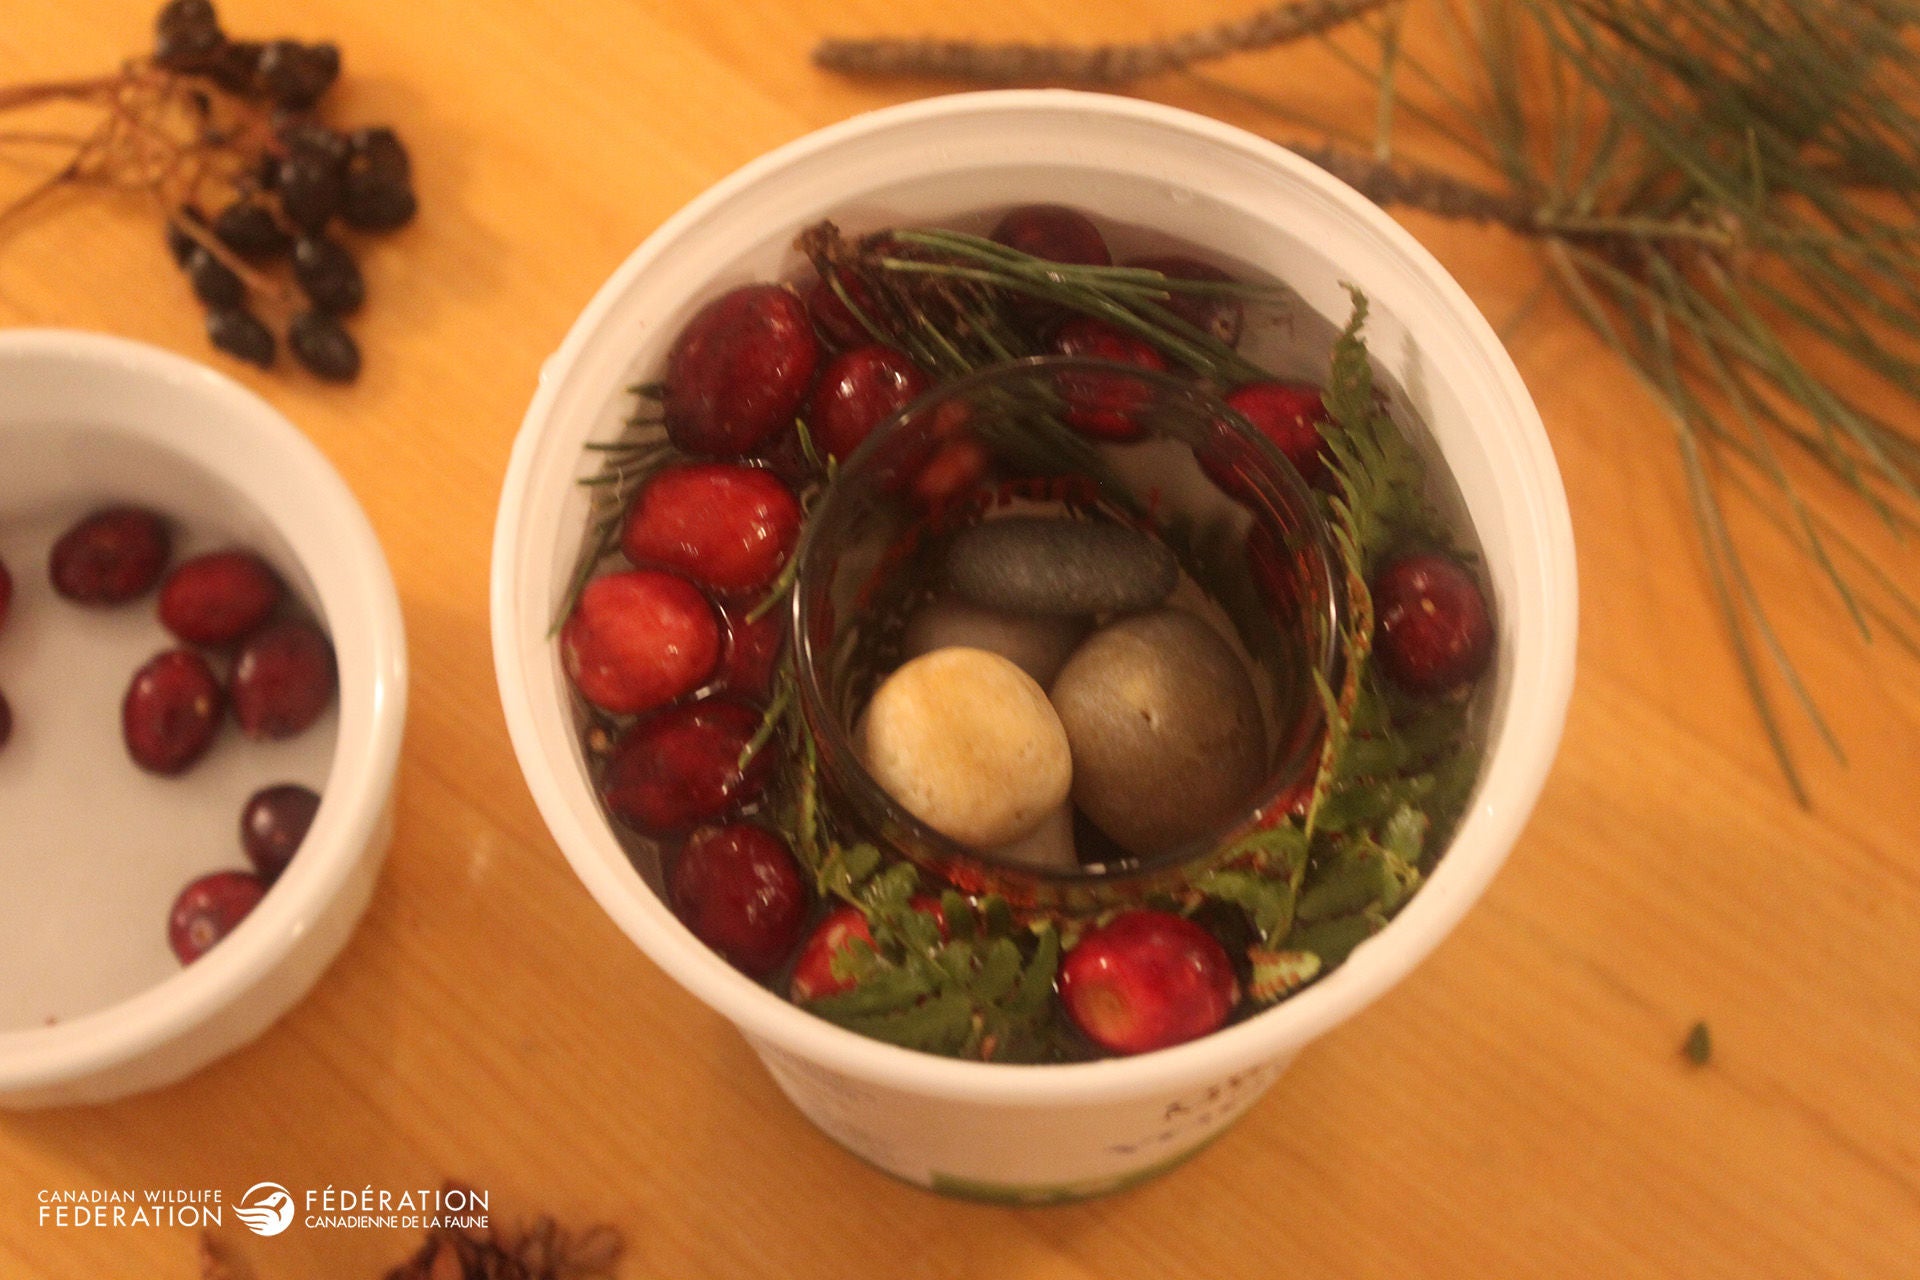
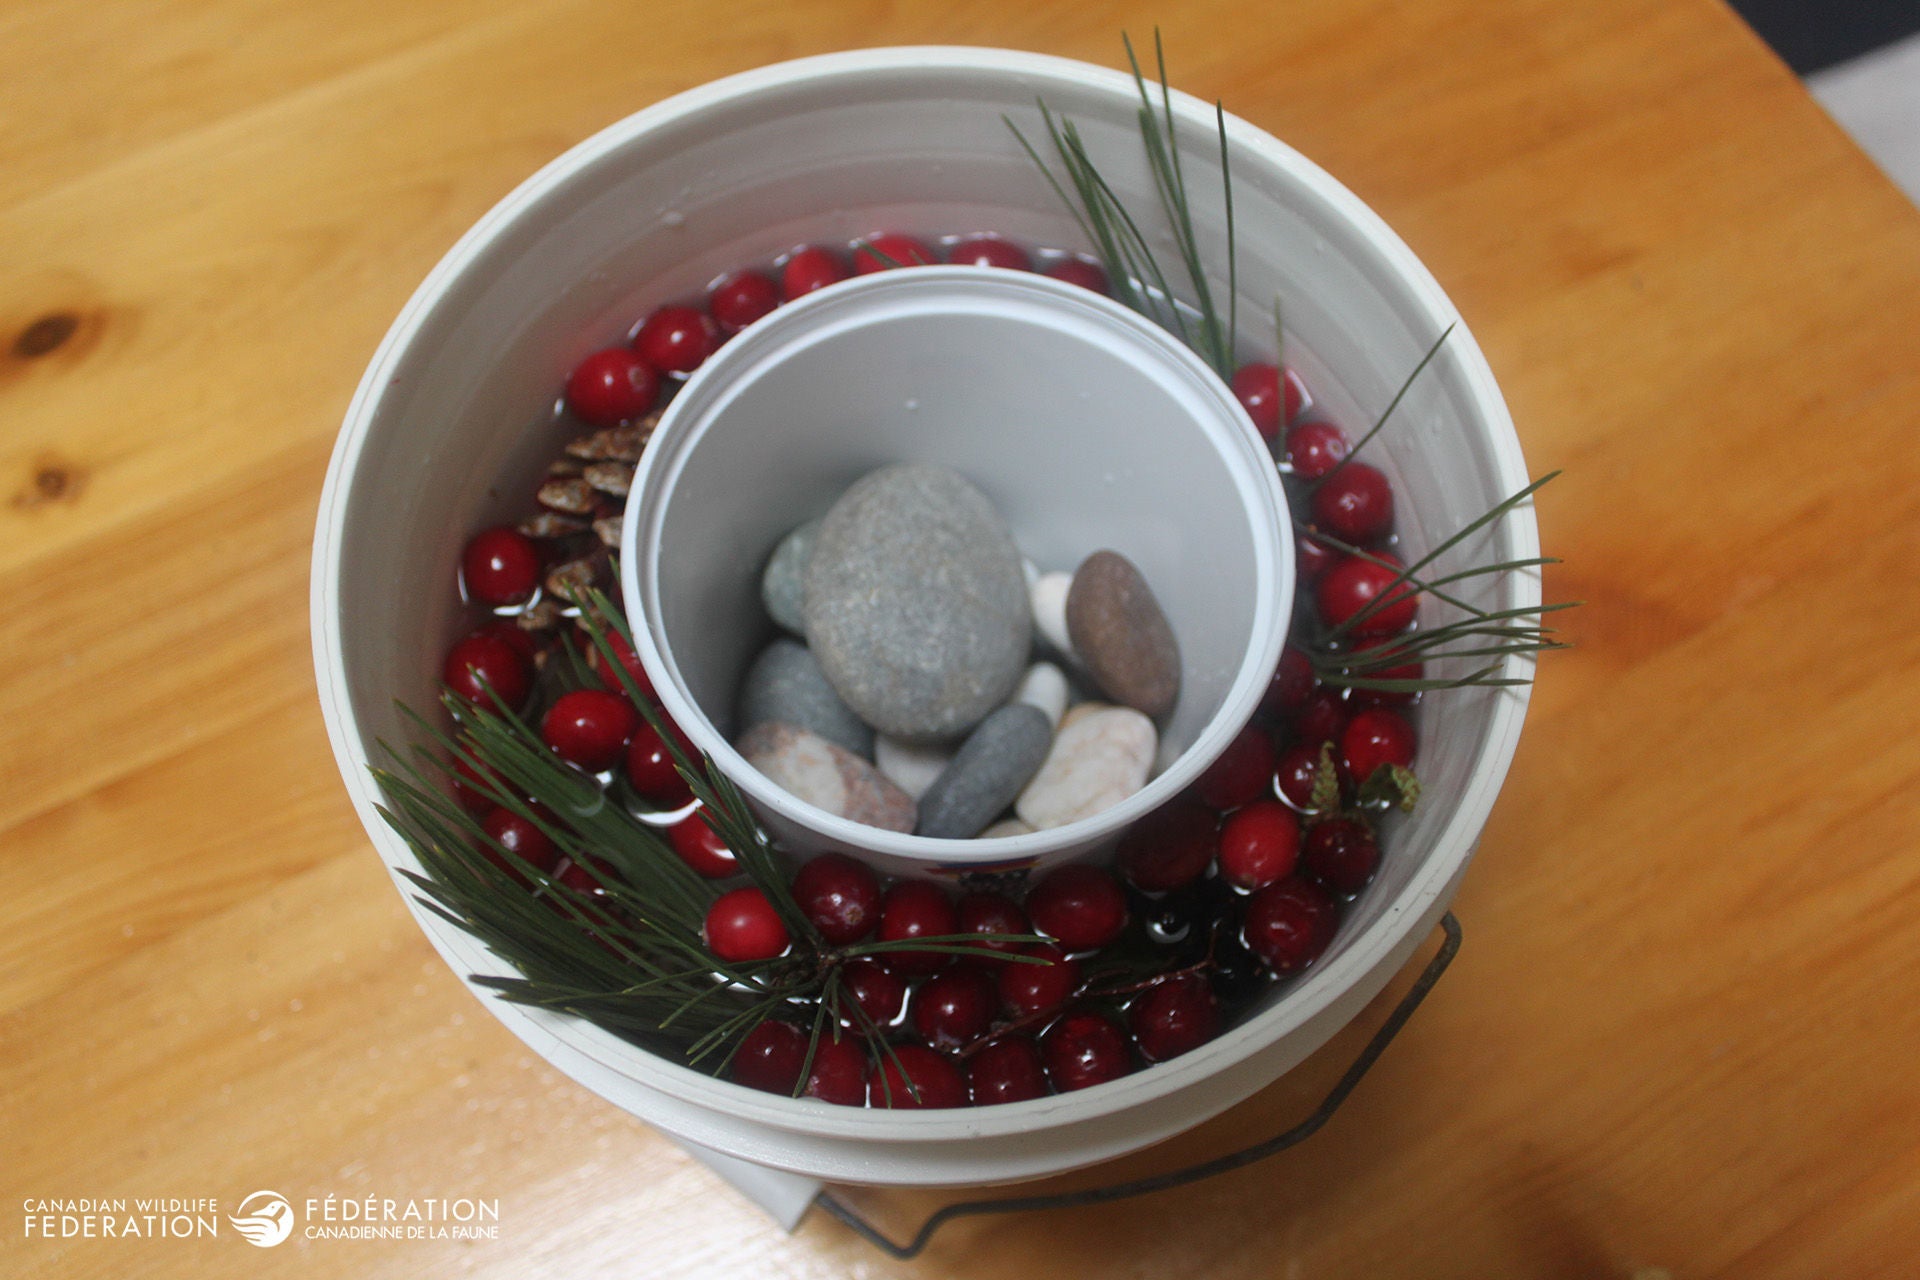
Ready to go in the freezer / outside!
Add in your berries, greens and whatever else you’d like to include like orange slices or small cones, and arrange until you are happy with them. I tend to use more of the greens and reds for vibrant colour and only use a few cones, if any.
Carefully carry outside or to the freezer and wait several hours. My small lantern was done the same day but my larger one took over a day to make and freeze properly.
Step 3 – Unveiling your masterpiece
Once you are sure that your lantern is totally frozen, pour a little warm water inside your inner container. It will soon release from the ice. Take care to not get water on the ice itself.
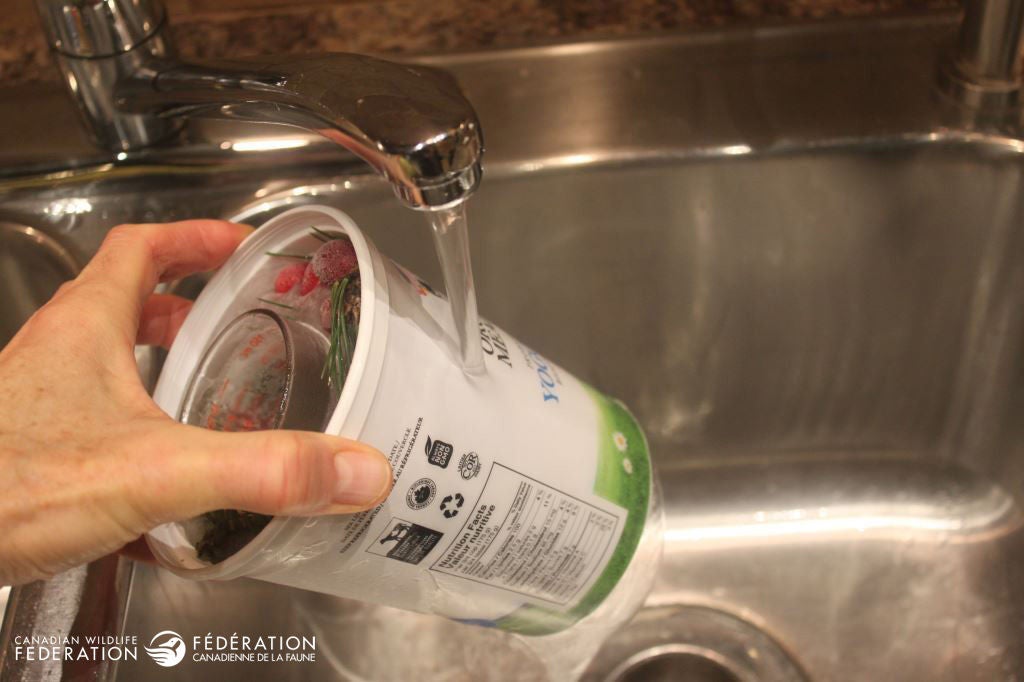
Next, run a little warm water carefully on the side of your outer container. It should also soon release your lantern inside. Take it outside quickly before it melts too much. You may wish to have a small towel on hand both for your hands to not stick to the ice or get too cold but also to dry any moisture from the outside of your lantern. If you place your lantern on your porch or front steps with moisture, it may stick in place to where you first put it, making it hard to rearrange, if desired!
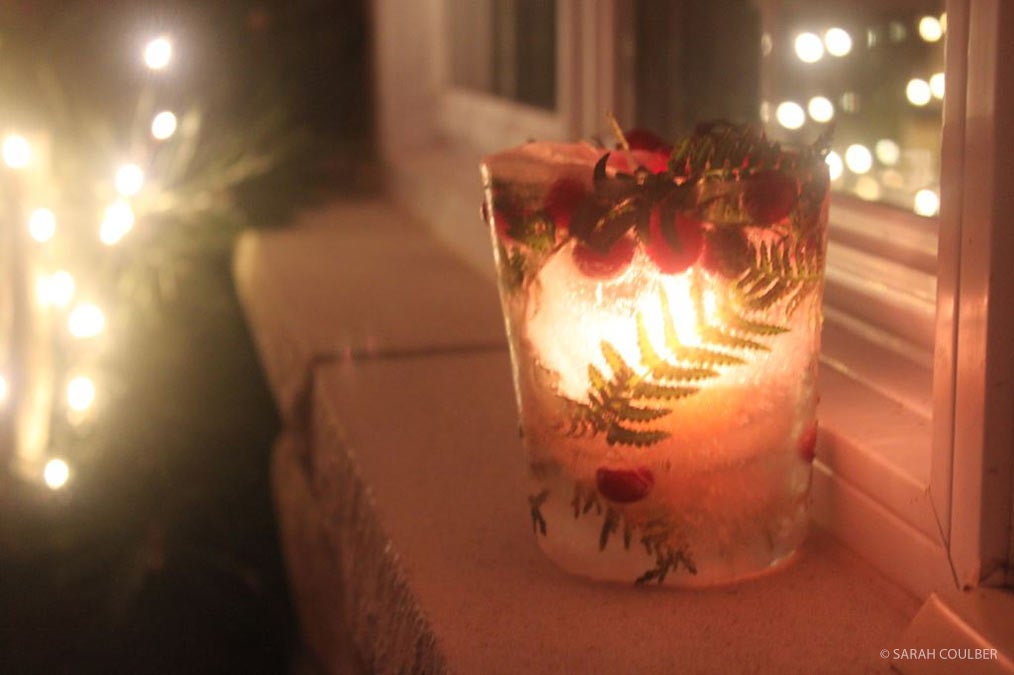
You might enjoy making several and having a few lined up on your stairs or porch to simply enjoy or be a stylish way to greet guests one evening.

Learn More
- 0
- 1
- 2
